Showing posts with label frosting. Show all posts

Tuesday, May 24, 2011

Sugar Cookie Bars


Big news, the girls track team won conference championships yesterday! It was extremely rainy and gross out yesterday, but they ran/jumped/threw through it and came out with a victory. Standing to wait for the places to be called, our team thought we had come in second until another team was called for second place, and we finally figured out we had come in first. Though, because of my injury, I haven't been able to run this season, I still love coming to the meets to cheer all my teammates on and I was so proud of how they all preformed yesterday that I knew I needed to make them something to munch on while we celebrated the win at practice the next day.
I wanted to make something easy to serve and transport (as I knew we would be eating it out on the track) so I decided to turn the popular sugar cookie into a bar form, and decorate them using our team colors of blue and gold!

Recipe:
Ingredients:
Bars-
1/2 cup softened butter
1 cups sugar

2 eggs

1 teaspoons vanilla extract

2 1/2 cups flour

1/2 teaspoon salt

1/4 teaspoons baking soda
 
Icing-

1/2 cup softened butter
1/2 teaspoon vanilla extract

Dash of salt
2 1/2 cups powdered sugar
3 tablespoons milk
Food coloring

Directions:
Preheat the oven to 375 F and grease a 13 x 9 inch pan.

To make the bars, cream together the butter and sugar until fluffy and then add in the eggs one at a time. Mix in the vanilla and in a separate bowl sift together the flour, salt, and baking soda. Slowly add this dry mixture into the butter and sugar mixture. Spread the dough evenly into your prepared baking pan(s). You may want to use your hands to pat it down more easily.
Place the bars in the oven for 12-15 minutes until lightly golden on the edges.

Meanwhile, in a large bowl, beat together the butter, vanilla, and salt to create the frosting. Slowly add in the powdered sugar, and then add in drops of food coloring until the desired color is acquired.
Remove from the bars from the oven and let cool before icing.

After icing, you may decorate with sprinkles or other toppers.
Refrigerate the bars before cutting to make for easier slicing.

These bars would be great to make and have people decorate. You could either ice them before and buy a variety of candies and sprinkles for people to create their own little treats, or you could even divide the icing into several parts, coloring each differently so people may also ice their own bars as well (though the icing will not be cooled and hardened as well, it will still taste yummy!)

Sunday, February 13, 2011

Mint Chocolate Cake Truffles

When I was doing the little studying I did do for my European history midterm I came accross Marie Antoinette's quote, "let them eat cake," and I thought, well, why not?
For this treat I decided to combine two things everyone loves; cake and truffles, and even though it took some work, I found it was definitely worth doing again (maybe even try it with new flavors).

Ingredients:
Cake-
1 cup flour
1/3 cup cocoa powder
1 teaspoon baking powder
1/2 teaspoon salt
1/4 teaspoon baking soda
3/4 cup sugar
1/3ecup butter
1 egg
1 teaspoon peppermint extract
½ teaspoon vanilla extract
2/3 cup cold milk

Frosting-
2 cup powdered sugar; sifted
2 tablespoons butter
1/4 teaspoon peppermint extract
2 tablespoons milk
1 tablespoon cocoa powder

Chocolate Coating-
2 cups semi-sweet/dark chocolate chips
12 crushed up chocolate wafer cookies

Directions:
Stir together flour, cocoa powder, baking powder, salt and baking soda into a bowl. Beat together the sugar and butter on high speed of mixer until fluffy, and then beat in the egg, vanilla, and peppermint extract. Add dry ingredients to creamed mixture, alternating with milk and beating well after each addition.
I didn't crumble in the edges of the
cake since they were crispier.
Pour the batter into a greased and floured 9" round cake pan. Bake at 350 for 25-30 minutes and cool 10 minutes.
For the frosting, beat together the sugar, butter, extract and enough milk to make smooth consistency. Add the cocoa powder and mix well.
Using your hands, crumble bits of the cake into the frosting. Now, using a spoon or your hands, mix the frosting and cake until well mixed.
Mixing the frosting & cake together.
Take the frosting-cake mixture and form into small truffle-sized balls and place them onto a baking sheet.
Place the baking sheet in the freezer for 45 minutes to an hour or the refrigerator for several hours.
Remove the cake drops from their cool place and place the semisweet/dark chocolate chips in a saucepan and heat them over low heat, stirring with a wooden spoon until melted.
Using a spoon, take each individual cake drop and roll it around in the chocolate. Tap off excess chocolate and place onto a baking sheet covered with wax paper. After a minute, roll each ball into the crushed up chocolate wafer cookies (if you wait too long the chocolate will harden and the cookies won’t stick). Place the cake truffles back on the sheet and let them cool and harden. You may place them back into the freezer or refrigerator for a couple minutes to harden them as well.
Pure chocolate goodness throughout-I keep mine in the
fridge so they stay cool, but you can do whatever you want.
The result was a soft mint chocolate center with a subtle crunch of the cookies on top, all held together by a layer of chocolate. So why just "eat cake" when you could eat a cake truffle?

Saturday, February 5, 2011

Sugar Cookie Donuts

Tomorrow is our conference championship for indoor track and I knew the runners would want to have some cookies after our races in order to hopefully celebrate another year of coming in first place!
Since everyone loves soft sugar cookies I thought I would try to make this classic a little more fun by making them into doughnut shapes complete with pink icing (I’m not planning on giving these ones to the boys team) and rainbow sprinkles.

Recipe:

Ingredients:
Cookies-
2/3 cup butter
1 cup white sugar
2 eggs
¾ teaspoon vanilla extract
2 1/3 cups all-purpose flour
1 ¼ teaspoons cream of tartar
¾ teaspoon baking soda
¼ teaspoon salt

Icing-
2 cups confectioners' sugar
¼ cup butter
2 tablespoons & 1-1/2 teaspoons milk
½ teaspoon vanilla
Food coloring (your choice)

Sprinkles

Directions:
Cream the butter and slowly add the sugar and beat until fluffy. Add the eggs, mixing well after each addition.
Stir in the vanilla and then add the flour, cream of tartar, baking soda and salt into the creamed mixture.
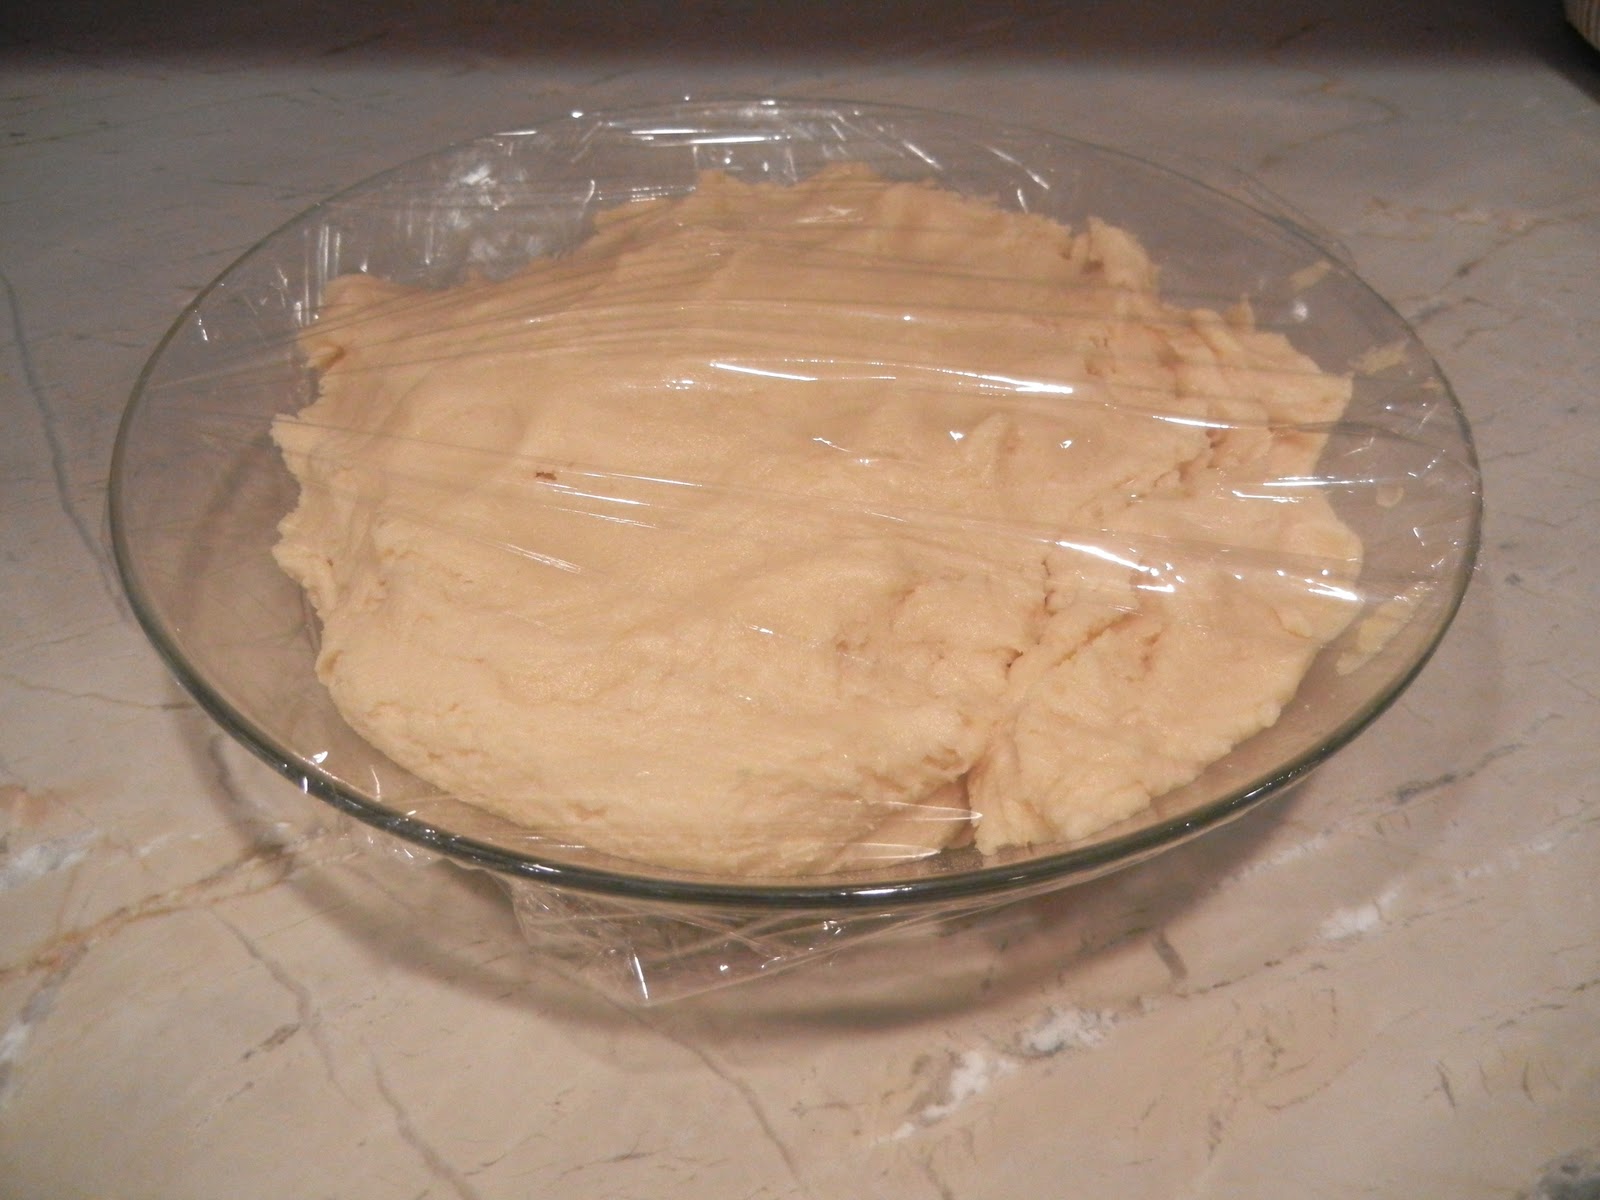
Cover and chill dough overnight in the refrigerator.
Dough before it was chilled.

Preheat oven to 350 degrees F and line baking sheets with parchment paper. (*I find its easier if you spray your pan with pam and then place the parchment paper on top so it sticks better*).

Scoop the dough into small balls and roll the balls into ropes about 4 inches long and about 1/2 in diameter. Coil the ropes into round doughnut shapes, leaving a small hole in the middle.
Make sure to leave space between the cookies.
Place the cookies in the over for 7-9 minutes.

I used only 2 drops of coloring.
Meanwhile, in a large bowl, cream together the confectioners' sugar and butter until smooth. Gradually mix in the milk and vanilla with an electric mixer until smooth and stiff, around 5 minutes. Color with food coloring if you want. You can even separate the icing and color the icings different colors to make an array of different colored donuts.
 
Using a knife spread the icing onto the cooled cookies. Afterwards, lightly sprinkle the cookies with sprinkles.


This recipe makes 2 dozen, just like 2 boxes of donuts.

Thursday, January 20, 2011

Cake Experiment #1

Watching over the top cake decorating shows such as Cake Boss and Ace of Cakes has given me motivation to try some basic decorating of my own (and I mean very basic when I say basic). Instead of using your typical pastry bag, I found a kid's cupcake and cookie decorating kit at Williams-Sonoma (http://www.williams-sonoma.com/products/wskids-cookie-and-cupcake-decorating-kit/). The easy-grip bottles and various tips gave me more control in decorating.
Photo Courtesy of williams-sonoma.com

I started out by using all recipe's simple white cake recipe (http://allrecipes.com//Recipe/simple-white-cake/Detail.aspx) to make two round layers that I later frosted with homemade butter cream frosting. I was going less for taste and more for an easy recipe to be bale to practice decorating on.
I mad sure the layers were cool, brushed off the crumbs, and frosted the 2 cake layers together. I spooned a large heap of frosting in the center of the top of the cake and then smoothed it around the top and sides with a warm, wide knife. I put the cake in the fridge for a few minutes to harden and then used the star tip to create a simple design around the top and bottom, and I think it turned out pretty well for a first attempt!
Next time I'm going to try different colors and possibly lettering.