Thursday, June 2, 2011

Chocolate Pretzel Bars


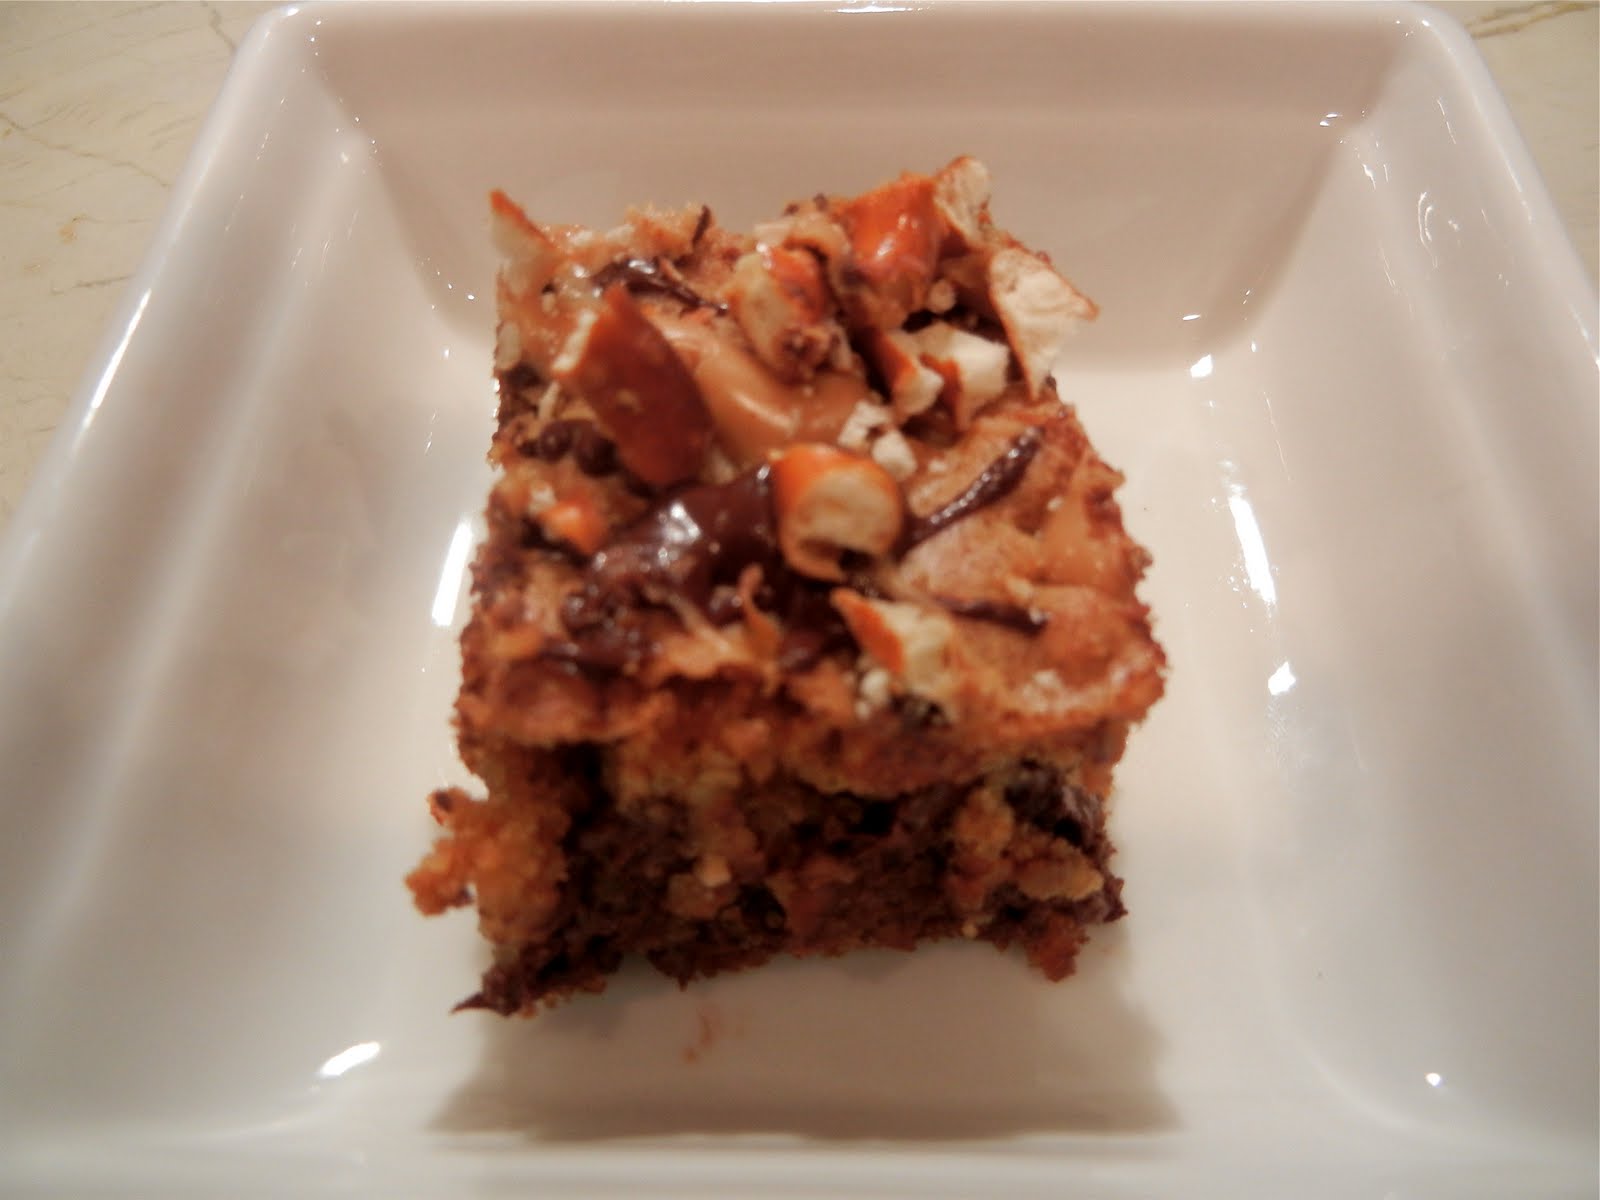
I have picked up a new hobby for when I’m bored. Instead of stalking people on facebook, as lame as it may be, I like to cruise through the internet, searching different baking blogs. The other day I came across Joy the Baker’s blog and her recipe for pretzel bars. They looked good, and it made sense that they would be a good mix of flavors since the sweetness of chocolate and the saltiness of pretzels is always a good combination. So, I decided to try then, and it turns out it was good just like I expected.

Recipe:
Ingredients:
Base-
2 cups all-purpose flour
1 teaspoon baking soda
½ teaspoon salt

1½ sticks softened butter
1 cup light brown sugar

½ cup granulated sugar

2 large eggs

2 teaspoons vanilla extract

2 cups semisweet chocolate chips
1½ cups coarsely chopped
 pretzels

Drizzle-
¼ cup chocolate chips
¼ cup peanut butter
¼ cup chopped pretzels

Directions:
Preheat the oven to 350°F and spray a 9×13 pan with cooking spray.
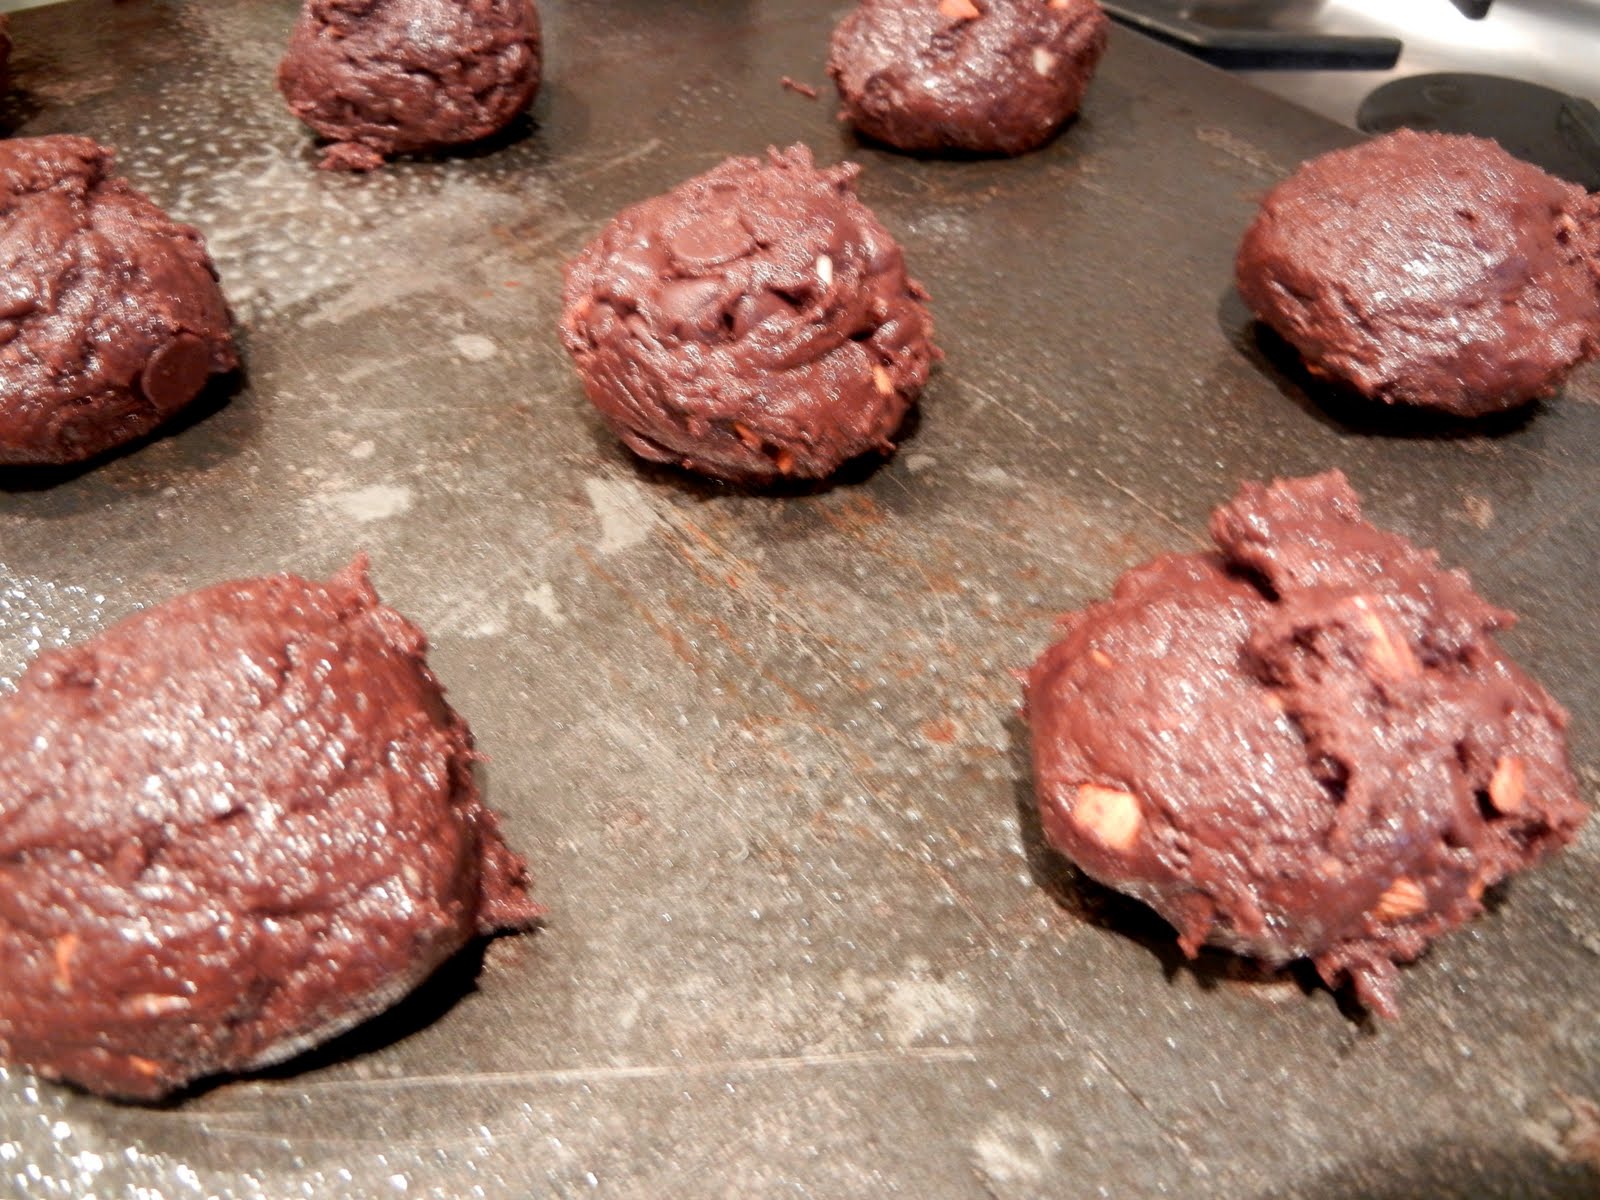
In a medium sized bowl, whisk together the flour, baking soda and salt. In a larger bowl, beat the butter and sugars until light and fluffy, and finally beat in the eggs and the vanilla extract. Gradually add in the dry mixture until just mixed. Fold in the chocolate chips and chopped pretzels.

Place the bag in the microwave
for about 30 seconds &
then snip the corner.
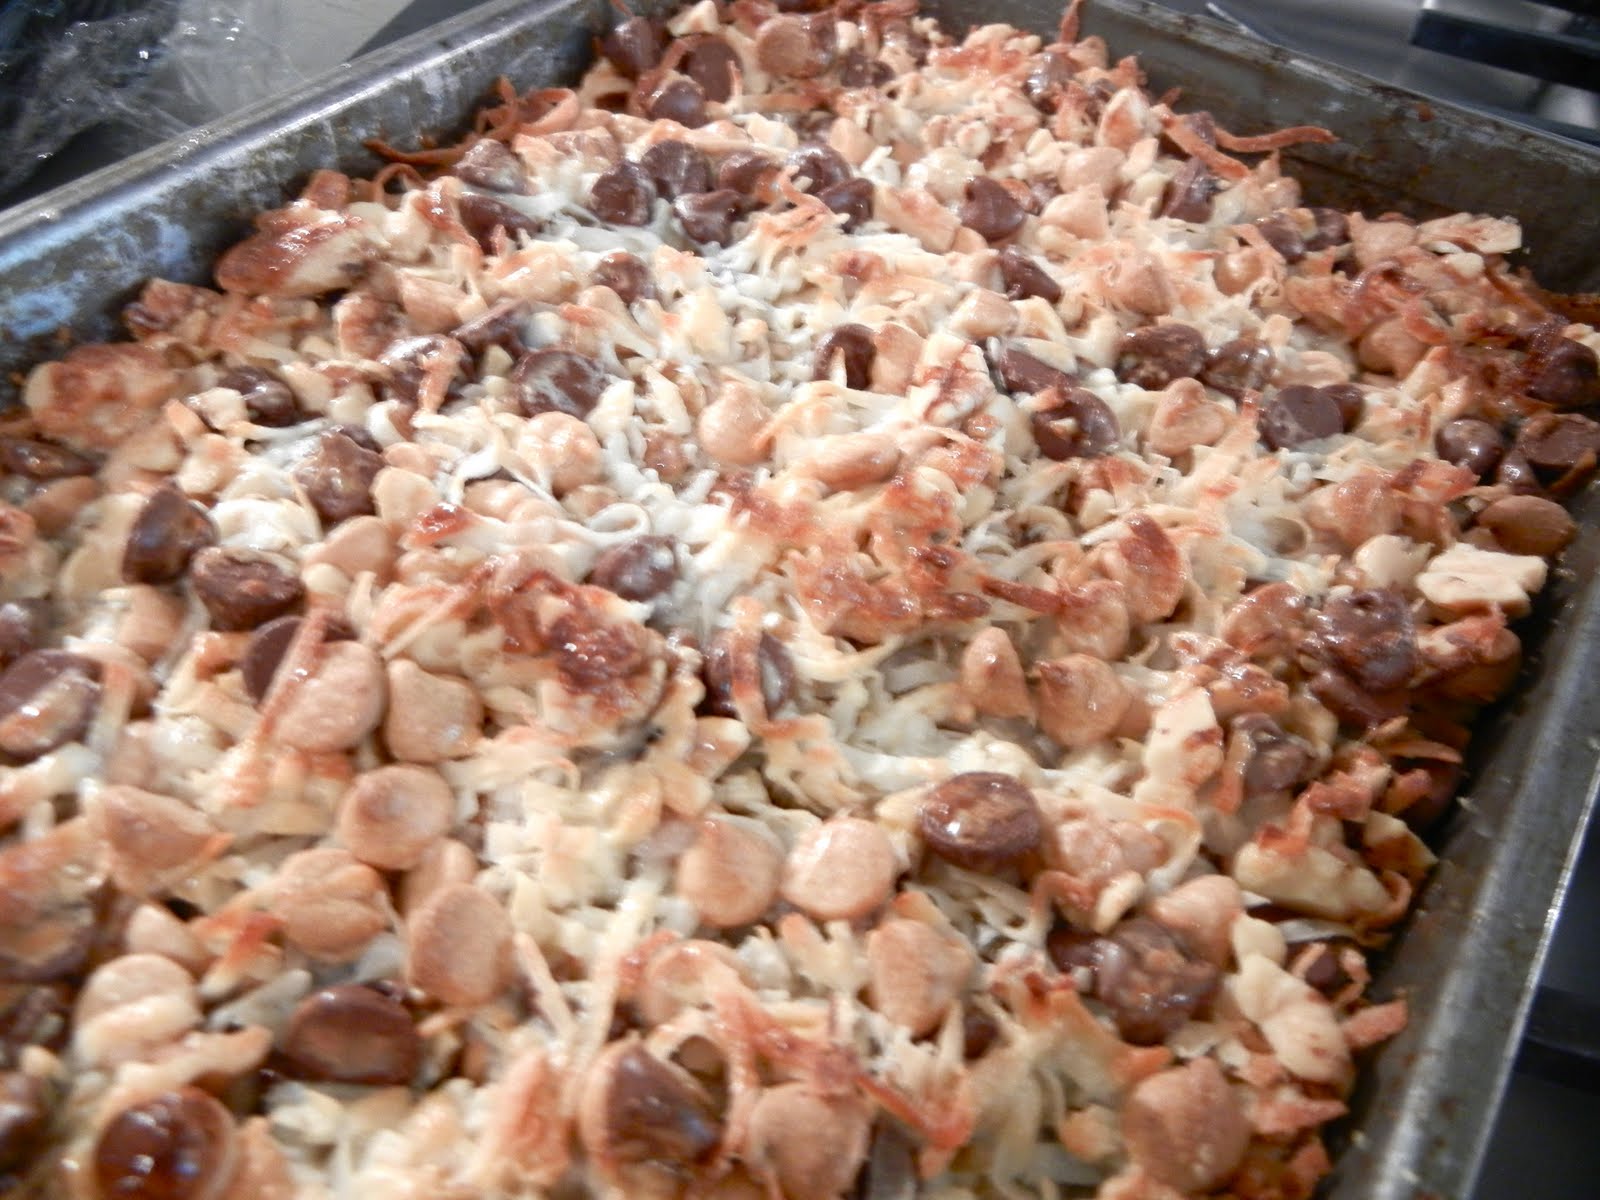
Spread the batter evenly in the pan and press it down evenly with a spatula. Bake for 30 minutes, until golden brown. Transfer the pan to a rack and cool completely.
In two sandwich baggies, melt the chocolate chips and peanut butter. Cut off a small corner on each bag and drizzle the chocolate and peanut butter over the top of the bars. Sprinkle the extra pretzels on top. Let the drizzle set and then cut the squares.

You don’t have do the drizzle on top, especially if you are baking these for someone with a peanut allergy, but it does make the bars look a lot more put together, and you can always leave out the peanut butter and just drizzle on chocolate if nuts are a concern.


Sunday, May 29, 2011

Chocolate Almond Cookies

My brother is coming home from college today, and my Mom always like to make sure the house is fool of food for when he arrives. Though the cabinets and fridge are now full of thinks to snack on, the kitchen is still missing one thing that I know my brother will want when he comes home- freshly baked goods.
Usually my Mom makes these decadent chocolate and caramel sandwich cookies for when my brother comes home, but I thought I would try something different. He loves nuts and chocolate so I thought to just put those two flavors in a cookie.
What came out were what my mom proclaimed were "THE BEST COOKIES EVER!"
So here's the recipe for you to try:

Chocolate with chocolate chips and nuts, what's not to like?

Recipe:
Ingredients:
1 cup softened butter
1 cup light brown sugar
1 cup granulated sugar

2 teaspoons vanilla extract

2 eggs
¾ cup unsweetened cocoa
2 ¼ cups flour

½ teaspoon almond extract
2 tablespoons plain yogurt
1 teaspoon baking soda

¾ teaspoon salt

1 2/3 cups semi-sweet chocolate chips

¾ cup chopped almonds
Don't cut the almonds too small, you
want to leave something to bite into.

Directions
:
Preheat the oven to 350 F and grease 2 baking sheets.
In a large bowl, cream together the butter and sugars until fluffy. Add in the vanilla, almond extract, and yogurt and eggs and mix well. Sift the cocoa, flour, baking soda, and salt in another bowl and slowly add this into the wet ingredients as you mix until just combined. Finally, fold in the chocolate chips and chopped almonds.
Scoop dough into large spoonfuls and roll into balls to place onto the baking sheets.

Bake cookies for 11-12 minutes and remove from the oven.
Let the cookies cool for about 3 minutes before transferring to wire racks to finish cooling.

Thursday, May 26, 2011

Avocado-Lime Pound Cake

I've already made pound cake before that turned out well, so I wanted to challenge myself by taking a new spin on an old recipe. Scanning around my kitchen I saw an avocado and began thinking that maybe I could use an avocado to replace some of the butter in a cake. While this may seem crazy, both butter and avocado contain fats that would work similarly in a baking recipe.
So, I began to research. I made this recipe for Avocado Lime Pound Cake, loosely based off Joy the Baker's recipe for Avocado Pound Cake, and its good, and surprisingly doesn't even really taste like avocado.

I know the green may be off-putting, but trust me, it's good.

Recipe:
Our star ingredient of the day.
Ingredients:
1 ½  cups all-purpose flour
¼ cup yellow cornmeal
¼ teaspoon salt
½ teaspoon baking powder
½ teaspoon baking soda
1/3 cup softened butter
1 cup sugar
½ cup brown sugar
2 eggs
½ teaspoon lime juice
½ teaspoon lime zest
1 teaspoon pure vanilla extract
1/3 cup buttermilk
Flesh of 1 ripe avocado, mashed
Yeah, I know it kind of looks
like baby food here...

Directions:
If you don't achieve the green color
you want, you can even use a
drop of food coloring.
Preheat the oven to 350 F and grease a loaf pan.
In a medium bowl, sift the flour, cornmeal, salt, baking powder and baking soda together.  In a larger bowl, beat together the butter and sugar until fluffy. In a small bowl, mash the avocado, and spoon it into the butter and sugar mixture and beat this all together for another minute. Add in the eggs, one at a time, and then the buttermilk, vanilla, lime juice, and lime zest until combined. Slowly add in the dry ingredients, making sure not to over mix.


Once the batter is ready, pour it into your prepared loaf pan and place it in the oven for 45-50 minutes until a toothpick comes out clean.
Let the loaf cool for about 10 minutes before placing it on a cooling rack to cool completely. 


With the avocado, the cake came out really moist, and had some extra health benefits as well since avocado, while it does have fat, contains "healthy fats" instead of butter's only saturated fats.

Tuesday, May 24, 2011

Sugar Cookie Bars


Big news, the girls track team won conference championships yesterday! It was extremely rainy and gross out yesterday, but they ran/jumped/threw through it and came out with a victory. Standing to wait for the places to be called, our team thought we had come in second until another team was called for second place, and we finally figured out we had come in first. Though, because of my injury, I haven't been able to run this season, I still love coming to the meets to cheer all my teammates on and I was so proud of how they all preformed yesterday that I knew I needed to make them something to munch on while we celebrated the win at practice the next day.
I wanted to make something easy to serve and transport (as I knew we would be eating it out on the track) so I decided to turn the popular sugar cookie into a bar form, and decorate them using our team colors of blue and gold!

Recipe:
Ingredients:
Bars-
1/2 cup softened butter
1 cups sugar

2 eggs

1 teaspoons vanilla extract

2 1/2 cups flour

1/2 teaspoon salt

1/4 teaspoons baking soda
 
Icing-

1/2 cup softened butter
1/2 teaspoon vanilla extract

Dash of salt
2 1/2 cups powdered sugar
3 tablespoons milk
Food coloring

Directions:
Preheat the oven to 375 F and grease a 13 x 9 inch pan.

To make the bars, cream together the butter and sugar until fluffy and then add in the eggs one at a time. Mix in the vanilla and in a separate bowl sift together the flour, salt, and baking soda. Slowly add this dry mixture into the butter and sugar mixture. Spread the dough evenly into your prepared baking pan(s). You may want to use your hands to pat it down more easily.
Place the bars in the oven for 12-15 minutes until lightly golden on the edges.

Meanwhile, in a large bowl, beat together the butter, vanilla, and salt to create the frosting. Slowly add in the powdered sugar, and then add in drops of food coloring until the desired color is acquired.
Remove from the bars from the oven and let cool before icing.

After icing, you may decorate with sprinkles or other toppers.
Refrigerate the bars before cutting to make for easier slicing.

These bars would be great to make and have people decorate. You could either ice them before and buy a variety of candies and sprinkles for people to create their own little treats, or you could even divide the icing into several parts, coloring each differently so people may also ice their own bars as well (though the icing will not be cooled and hardened as well, it will still taste yummy!)

Thursday, May 19, 2011

One Chocolate Chip Cookie

It's like built-in portion control.

This is a recipe for not a dozen, not a half dozen, not even 2 dozen, but for one, sole cookie.
I got the idea to create a recipe for just one cookie when my friend Olivia said she wished that you could mix ingredients together for just one cookie, instead of always having to make a full plate of them.
At the time I suggester to her that you could simply make all the dough and just freeze it to take out only what you need at a time, but this suggestion didn't satisfy her and so I decided to take on the challenge.
What I figured was that the main issue was the egg, because using a teaspoon of egg wouldn't work well for a recipe. However, cookies have eggs for a reason, so I needed an ingredient that would help coagulate the batter just like an egg would. For this, I turned to a recipe from All Recipes for yogurt chocolate chip cookies and scaled it down a ton and tweaked it a bit.

Recipe:
Ingredients:
2 teaspoons packed brown sugar
1 teaspoon sugar
2 teaspoons butter
2 teaspoons plain yogurt
2 drops vanilla extract
2 tablespoons and 2 teaspoons all-purpose flour
1/8 teaspoon baking soda
Dash of salt
Dash of cinnamon
2 teaspoons semisweet chocolate chips

Directions:

Preheat the oven to 375 degrees F and grease a cookie sheet.
In a small bowl, cream together the brown sugar, white sugar, and then stir in the yogurt and vanilla. Add in the flour, baking soda, salt, and cinnamon until incorporated, and then mix in chocolate chips.
Form the dough into a ball and place on the greased cookie sheet.
Bake for 9 to 11 minutes in the preheated oven, until the edges begin to brown. Cool for a minute on the cookie sheet before removing to wire racks to finish cooling.
The one, lonely cookie.
What's really good about this recipe (other than the fact it tastes good) is that if you love dough, you can just eat the uncooked cookie without worrying about salmonella from eggs. 


If you like this recipe and would like to make more than one of these, here is the recipe:

½ cup packed brown sugar
¼ cup sugar
½ cup butter
½ cup plain yogurt
2 teaspoons vanilla extract
2 cups flour
½ teaspoon baking soda
½ teaspoon salt
½ teaspoon cinnamon
1 ¾ cups semisweet chocolate chips

Tuesday, May 17, 2011

"Crack Brownies" Version 2

Every Thanksgiving my mom makes an array of amazing desserts, and always has a tray with all different types of cookies and squares. My Aunt Amy particularly looks forward to this one type of bar that never ceases to be included on that Thanksgiving platter. Because these bars never had an official name, we have deemed them "crack brownies" for their ridiculously addicting-ness.
Make sure to evenly pour and spread.
At this time I am forbidden to disclose the exact recipe (hence the "version 2"), but I have since made my own version of these "crack brownies" that are based upon the recipe for magic cookie bars on the back of the Eagle sweetened condensed milk that is an easy, and tasty classic that's just as easy to turn up a notch.
You can use really any type of chips or nuts you like to create your own favorite version, but here's mine- 

Recipe:
Ingredients:
1 cup butter
3 cups graham cracker crumbs
½ teaspoon cinnamon
1 (14 ounce) can sweetened condensed milk
1 cups semisweet chocolate morsels
1 cup butterscotch chips
2 cups flaked coconut
1 ½ cups chopped walnuts


Directions:
Heat oven to 350 F and grease a 13 x 9 inch pan.
Over low heat, melt the butter in a saucepan. Once melted, add in the graham cracker crumbs and cinnamon. Stir well and pour this mixture into the greased pan and pat it down evenly so it is distributed evenly throughout the entire pan.
In a bowl, dump the different chips, coconut, and nuts and mix with a spoon or your hands (cleaned of course).
Pour the bowl’s mixture over the graham cracker crust evenly, and press this mixture down slightly as well.
Then, pour the sweetened condensed milk evenly over everything.
Bake for 22-26 minutes until lightly browned.
Let cool before slicing.


The sweetened condensed milk gives these an almost
fudge-like texture too.
These are great to make when you're running out of eggs in the house and need to bake but don't feel like putting in a lot of effort or time. Don't worry though, everyone loves these.


Saturday, May 14, 2011

Blueberry Cookies with White Chocolate


Everyone loves my whole wheat blueberry bread, (or they could just be lying to my face, but I'm assuming that's not the case), so when I saw an uneaten pint of blueberries in the fridge I thought hey, maybe I should try making a cookie using similar flavors of the blueberry bread, and for good, sweet measure, add in some white chocolate.

To make a healthier version of these cookies, you could easily substitute white whole wheat flour for the all-purpose flour, and use chopped nuts (I think almonds would be best) instead of the white chocolate.


Recipe:
Ingredients:
2 cups flour
2 teaspoons baking powder
½ teaspoon salt
½ cup butter
1/3 cup almond (or regular) milk
1 egg
¾ cup white sugar
¼ cup sugar
¾ cup white chocolate chips
1 teaspoon vanilla
2 teaspoons lemon zest
1 cup fresh blueberries

Directions
You have to fold the blueberries in so they don't burst.
In a large mixing bowl, cream together the butter, sugar, egg, milk, almond extract, vanilla and lemon zest. In a separate bowl combine the flour, baking powder and salt. Gradually add this dry mixture to the butter and sugar mixture in the mixing bowl. Add the while chocolate chips/chunks and finally fold in the blueberries, making sure not to crush them.
Cover the dough and chill in the refrigerator for at least 1 hour.
Preheat oven to 375 degrees F. Drop your chilled dough by small spoonfuls onto cookie sheets.
Bake the cookies for 11 to 14 minutes in the oven.
Allow the cookies to cool on the baking sheets for a few minutes before transferring to wire racks to cool completely.
Oozing with blueberry goodness.


When I made these my friend's dad proclaimed they were the best thing I've ever made, and that's saying a lot considering he's always at the track meets and offers to try out what I made for the team that day.
I guess I now know what to make him for his birthday...